
Preparing Your Eggs for Easter
Posted on Monday Mar 25, 2024 at 03:50PM in Rural Lifestyle
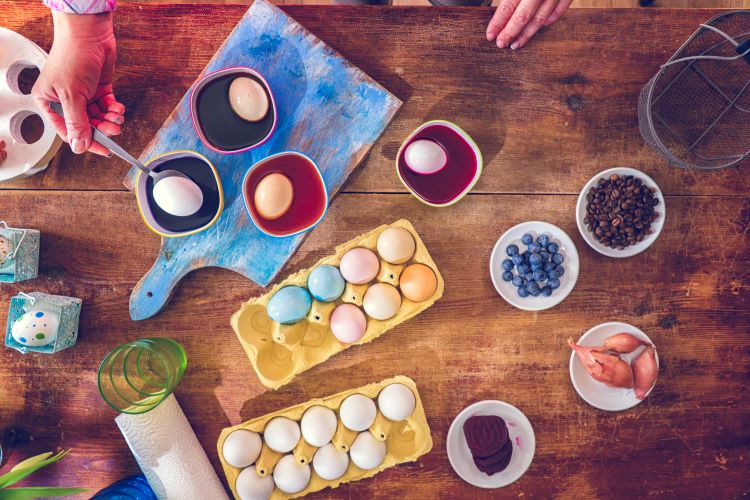
Decorating eggs is a traditional craft project to put you in the Easter spirit! Especially if you have backyard chickens, what better way to use the extra eggs? There are two primary methods of preparing your eggs to be decorated — the blow-out technique and the hard-boiling technique. Keep reading for a complete list of steps for both methods!
Blow-out Technique
Step 1:
Before you begin hollowing out your egg, you will first want to wash and dry it to remove all the dirt from the coop. Once it is emptied, you risk cracking the egg by handling it too roughly during this step.
Step 2:
After the egg has had time to dry, use a large needle to pierce both ends of the shell, making sure to insert the needle deep enough to break apart the egg yolk. Wiggle the needle around in a circular motion or use a thin, metal skewer to enlarge the holes at both ends. Be gentle during this step — the hole must be big enough for the inside of the egg to pass through, but if it is too big, you will crack the egg.
Step 3:
Hold the egg over a bowl and blow into one of the holes as hard as you can to force the egg white and yolk out of the egg. Since you won’t be needing anything but the shell, plan to use the insides of the egg for cooking or baking so that it does not go to waste.
Step 4:
Once your egg has been hollowed out, rinse the shell under cold water to wash off any excess egg white or yolk. Let it dry completely before decorating, as a damp egg will cause your dye and paint colors to run or bleed into each other.
Hard-Boiling Technique
Step 1:
Since eggs are perishable, they will need to be refrigerated before hard boiling. To reduce the chance of your eggs peeling, refrigerate your eggs for a week to 10 days prior to cooking.
Step 2:
Place the eggs in a saucepan and submerge with cold water, ensuring the water comes at least one inch above the eggs. Bring to a rolling boil over medium heat and then remove the saucepan from the stove. Leave the eggs in the hot water for approximately 10 to 15 minutes depending on the size of your eggs to finish the cooking process.
Step 3:
Immediately submerge the eggs in cold water to halt the cooking process. Let them cool completely before decorating. Hard-boiled eggs should be used within one week of cooking.
Raising your own chickens and being able to enjoy their eggs, whether for eating or Easter decorating, is a rewarding process. Visit Stockdale’s for all the supplies you need to get started in this new venture. We wish you all a Happy Easter!
Comments are closed for this entry.